

One of the biggest disappointments with FSX for scenery designers, when the sim was released umpteen-and-a-few years ago, was the fact that ACES neglected to include something called “conditional animations”. That means nothing to most people, but if I said “opening hangar doors“, “custom windsocks“, “piles of snow” and “this product is not compatible with DX10 preview mode” then that might mean a little more. Basically, if you wanted to include anything that animated outside of a simple loop, or only displayed given certain criteria, then you either had to use FS9 models and code, or write a complete module outside the sim to make it work.

Although a few companies, notably Orbx, have done a lot to develop modules capable of adding these things in, most developers have been stuck with either FS9 code that isn’t compatible with DX10, or using external configuration tools that swapped models or textures while the sim was not running. The latter, of course, meant that you had to remember to swap them if you were flying in a different season, then restart the sim. It was an extremely difficult task to make things happen “live” inside the sim, in the same way as could be done in FS9. Prepar3D, while being constantly further developed, has still not added this functionality either.
Well, now you can – with some limitations, courtesy of a Swiss gentleman by the name of Jeffrey Stähli and his Donationware SimObject Display Engine or SODE.
By using Simobjects, rather than scenery library objects, SODE is able to to place objects through the Simconnect interface, which provides significant amounts of control on how things can be placed and animated. Unfortunately, it also requires a considerable amount of coding to make it do this – which is exactly why SODE exists.
Presented as an executable file, which is called to run by FSX itself through the exe.xml configuration file, SODE is programmed by the scenery developer and the only thing the user need do is complete any actions required to give commands, such as setting a frequency, selecting an option from a menu or simply taxying their aircraft close to an object. This does mean that there’s very little to actually show of the tool itself, which is why this article contains images of the effects, rather than the tool itself, for the most part.
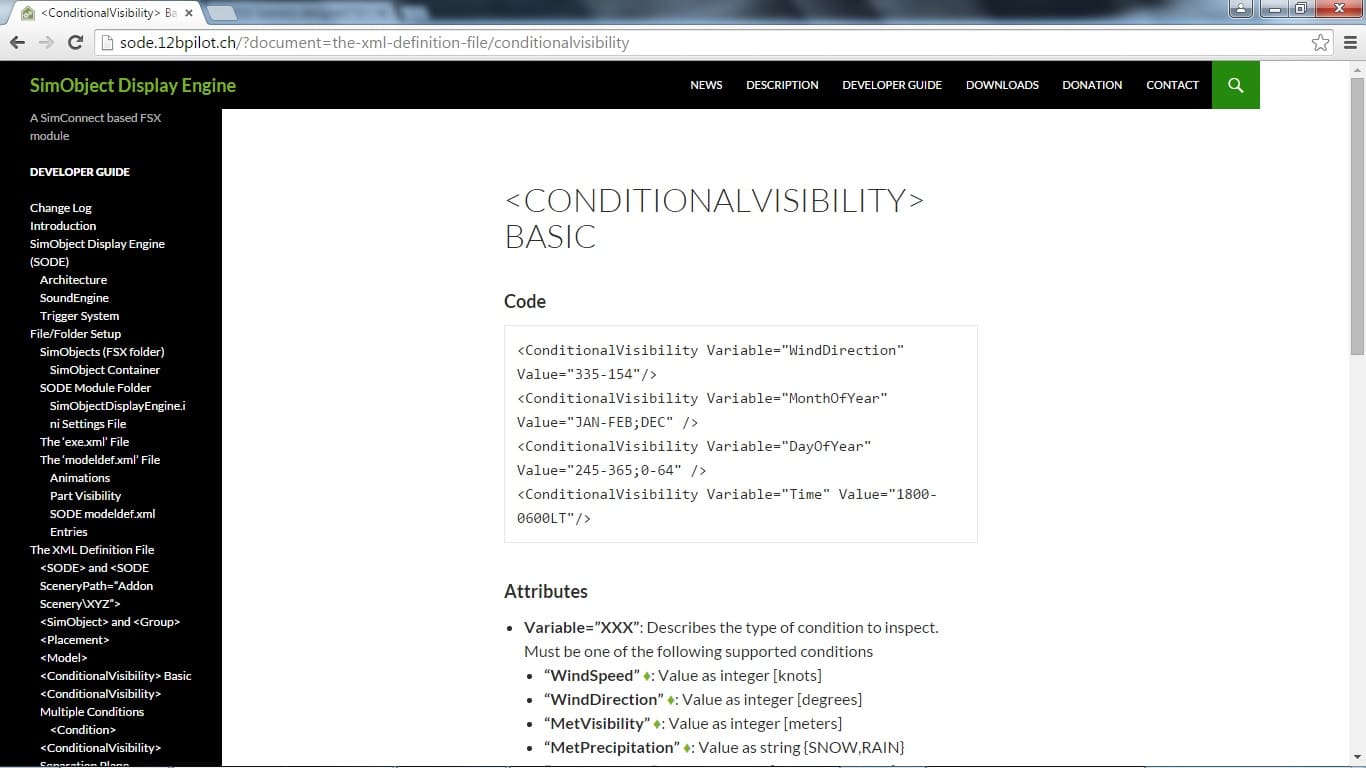
Configuration of SODE is carried out via a simple text format xml file, which means that most of the “code” is plain English. Numerous examples are given, for a number of applications of the utility, as part of the install set, while the user manual is online, via the developer’s homepage.
Although the xml format is very easy to understand, it can also be a little awkward if you make an error – as I found when I was getting multiple objects appearing at a time, even though the code was only calling one. I had missed an entry out from the Environmental Data Probe’s client list, which was a significantly less than obvious cause of the problem, although thankfully easily fixed once someone else had spotted it (thanks Jacques!)
So what can SODE do and not do? Well the short answer is that it can do simple animations and conditional visibility, using single or multiple conditions. If you want to call something dependant on wind direction and only on one specific day of the year, that’s fine. If you want it to only occur when there is no traffic on the runway, when departure clearance is given, or when an AI aircraft is doing something, rather than the user aircraft, then SODE can’t help.
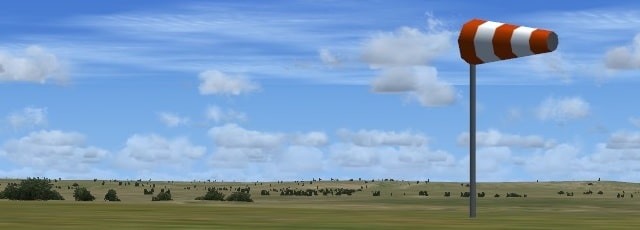
The examples given in the documentation are for a windsock, “landing T” runway direction indicator, range-based visible hangar, proximity animated doors, manually activated doors, seasonal snow effects, pilot activated lighting and the latest addition, custom animated jetways, to give you an idea of what it can do.
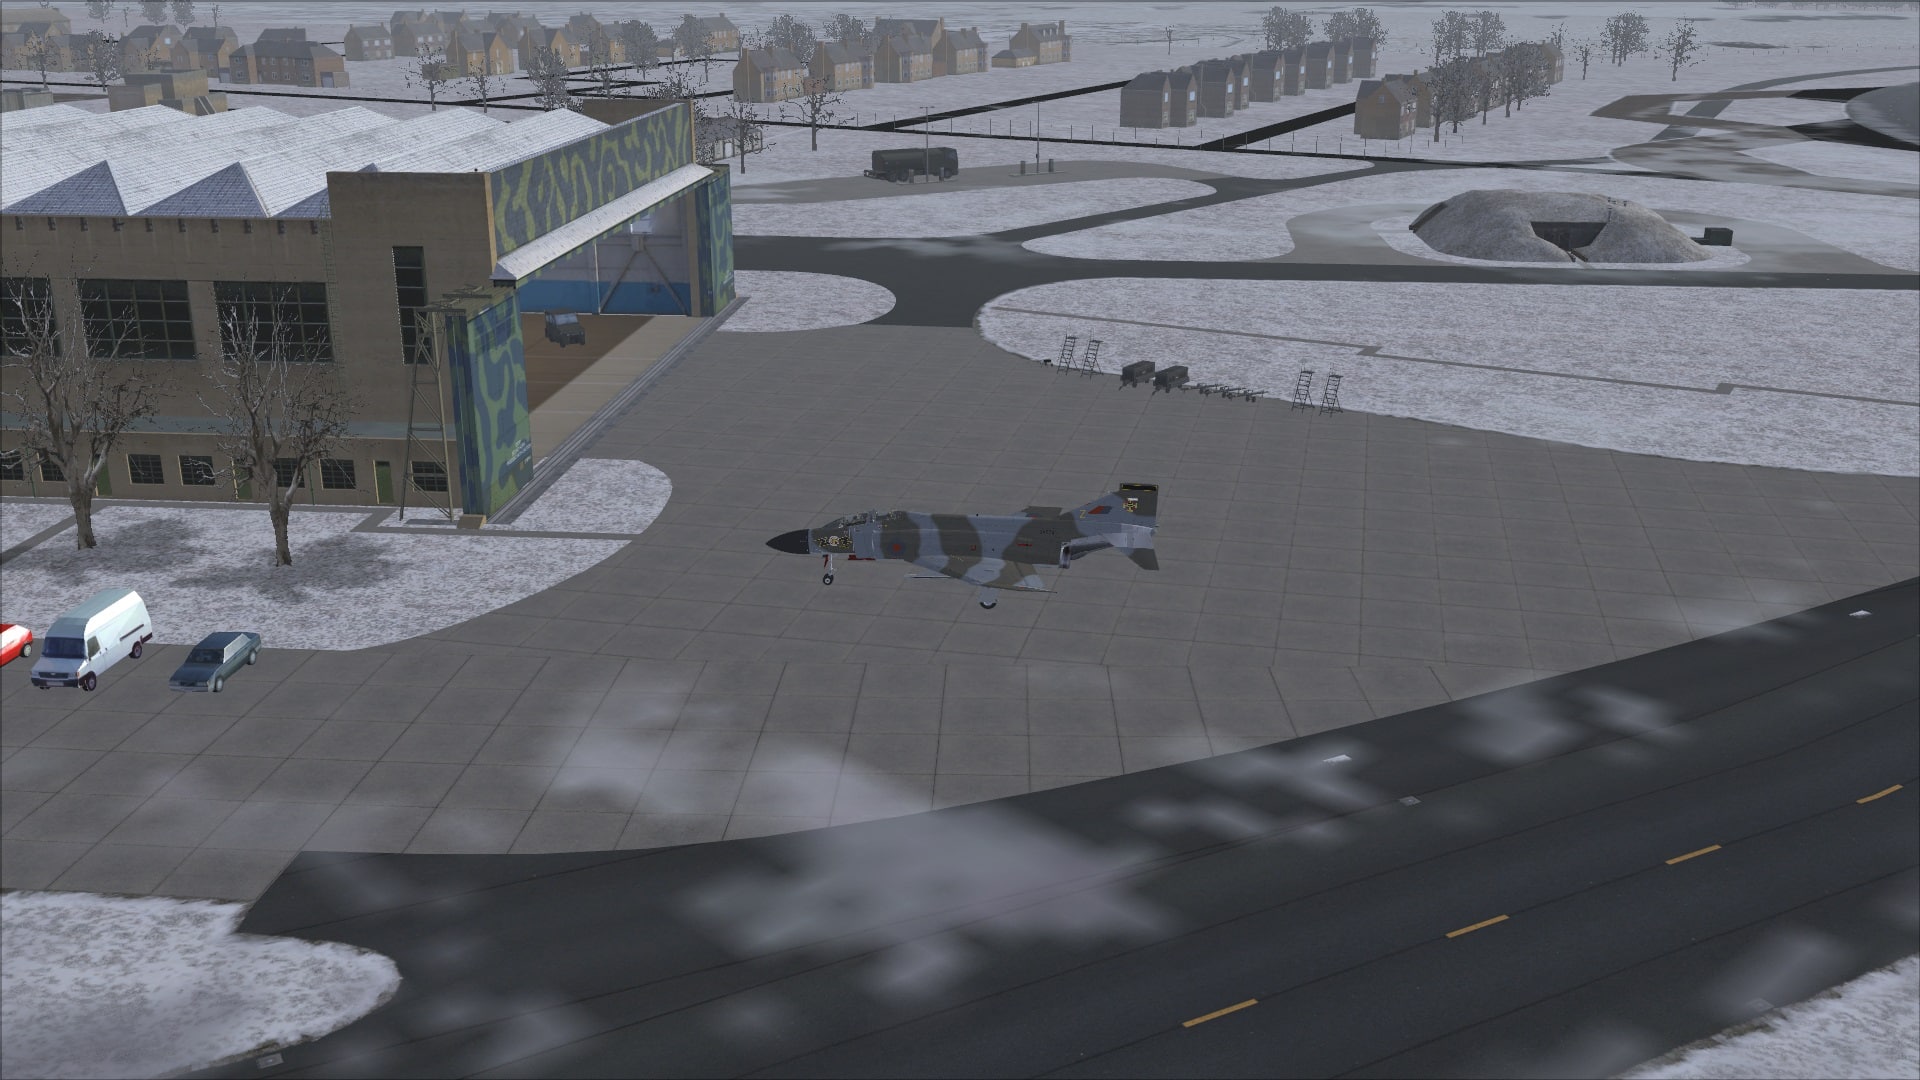
One of the first airfields to be released including SODE functionality is Airfield Construction Group‘s freeware RAF Wattisham 1991 Seasonal Edition (Avsim library link), which has seasonal trees, grass, building and ground poly textures. Other developers including Flightport and Drzewiecki Design have also now got involved, with the jetways being used at Drzewiecki’s Warsaw Chopin. As the tool is free, however, and comparatively easy to use, why not improve your own “home” airport? For example you can edit the example xml file very simply to position the provided hangar or windsock at your home field.
Here’s a quick example using the default “single runway” airfield at 6666 Ranch (6TE6) in Texas.
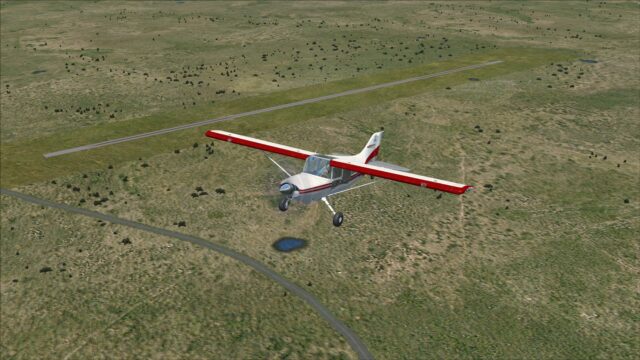
As you can see from the above image, not even the addition of Orbx FTX Global helps 6666 Ranch much – “it’s borrrrrring”, as our four-year old would say. So let’s see what we can do with it.
First of all, with FSX not running, in Windows Explorer, go to your [FSX]/SODE/xml folder and copy SODE_Samples.xml. Rename your copy to be 6TE6_TEST.xml.
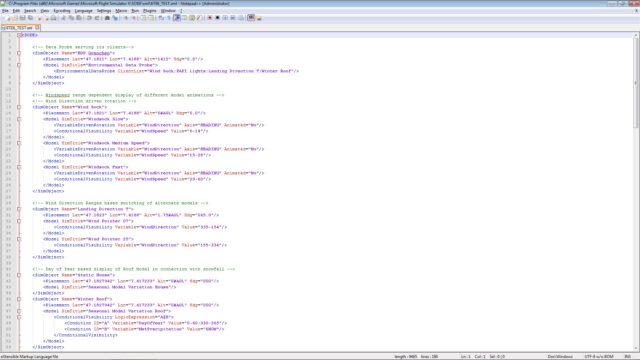
In order to edit the XML file, you will need a plain text editor, meaning one that doesn’t add control characters and extra code to the document, in the way that things like MS Word, OpenOffice/LibreOffice Writer or WordPerfect will. I use a free application called Notepad++, which highlights text in a way that assists with debugging, but Windows Notepad or any other plain text editor will do. Use your chosen editor to open your new 6TE6_TEST.xml file and you should see something like the below – if you’re not using Notepad++, it may well be less colourful.
So let’s start by editing the top bit, then we’ll remove the bits we don’t want and finally editing the section we do.
The top section of the file defines the Data probe, which is used to provide the information that the windsock will use, so we still need that. Edit it to show the following, ensuring that there are no extra spaces around the text.
<SODE>

    <!-- Data Probe serving its clients-->
    <SimObject Name="6666 Ranch">
        <Placement Lat="33.640732504" Lon="-100.345903337" Alt="1775" Hdg="0.0"/>
        <Model SimTitle="Environmental Data Probe">
            <EnvironmentalDataProbe ClientList="Wind Sock"/>
        </Model>
    </SimObject>
If you look in the manual for SODE, you will find that this is an invisible object, so it doesn’t really matter where on the airport you put it. You may well, however, have noticed that the location entered as part of that text is not in the Degrees° Minutes.DecimalMinutes format that FSX uses. It’s actually simply “Decimal degrees”, where N and E are defined as “positive” numbers, S and W as “negative” numbers, so you have to convert it, if the only method you have of getting the position is FSX itself.
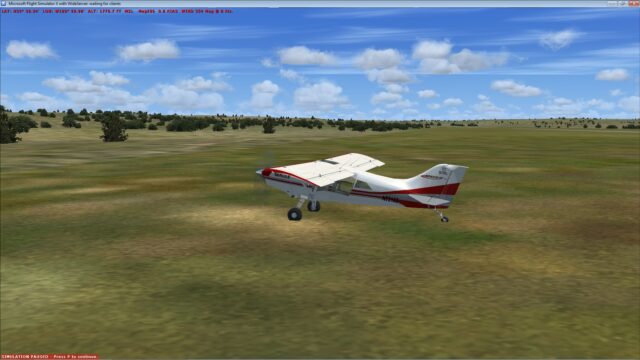
Position your aircraft where you want the hangar to be and press shift-z to bring up the red information bar. You’ll see (in my example below), LAT: N33° 38.34′ LON: W100° 20.98′ ALT 1778.7FT. We aren’t worried about the magnetic heading and wind direction/speed at the moment.
The latitude is North 33 degrees, so that’s easy; the integer is “33”. We need to calculate the decimal degrees from the minutes, though. There are 60 minutes in a degree, so divide 38.34 by 60 and you’ll get .639. Therefore, our position is LAT 33.639. Longitude is West 100, so that’s -100 for the integer part (minus because it’s West…) If we then calculate 20.98/60=0.349666667 (or thereabouts!) then it gives us LON -100.349666667.
You’ll notice that the numbers I’ve suggested you enter are slightly different than that and there’s a reason for that, which could be called ‘cheating’. If you want to avoid doing the maths, you can couple an application that works in Decimal Degrees to your sim and simply read the position off that. For this purpose, I used Scruffyduck’s Airport Design Editor X, but Google Earth can be set to use Decimal Degrees and you could simply look up where you want to put things on that, as an alternative.
Now you’ve got the numbers for where you want to put things, you can edit the data for the two objects we want to put in, which are “Wind Sock” and “Animated Hangar 2”. You can just delete the other sections, ensuring that you leave the </SODE> at the end and you should end up with a text file that looks similar to the following:
<SODE>

    <!-- Data Probe serving its clients-->
    <SimObject Name="6666 Ranch">
        <Placement Lat="33.640732504" Lon="-100.345903337" Alt="1775" Hdg="0.0"/>
        <Model SimTitle="Environmental Data Probe">
            <EnvironmentalDataProbe ClientList="Wind Sock"/>
        </Model>
    </SimObject>

    <!-- Windspeed range dependent display of different model animations -->
    <!-- Wind Direction driven rotation -->
    <SimObject Name="Wind Sock">
        <Placement Lat="33.640889849" Lon="-100.346381762" Alt="0#AGL" Hdg="0.0"/>
        <Model SimTitle="Windsock Slow">
            <VariableDrivenRotation Variable="WindDirection" Axis="HEADING" Animated="No"/>
            <ConditionalVisibility Variable="WindSpeed" Value="0-14"/>
        </Model>
        <Model SimTitle="Windsock Medium Speed">
            <VariableDrivenRotation Variable="WindDirection" Axis="HEADING" Animated="No"/>
            <ConditionalVisibility Variable="WindSpeed" Value="15-28"/>
        </Model>
        <Model SimTitle="Windsock Fast">
            <VariableDrivenRotation Variable="WindDirection" Axis="HEADING" Animated="No"/>
            <ConditionalVisibility Variable="WindSpeed" Value="29-60"/>
        </Model>
    </SimObject>

    <!-- Triggerable Animation and Visibility user induced -->
    <SimObject Name="Animated Hangar 2">
        <Placement Lat="33.638944660" Lon="-100.349746689" Alt="0#AGL" Hdg="108"/>
        <Model SimTitle="Hangar 2">
            <TriggerableVisibility Input="TextMenu" Action="Show,Hide" VisibleOnLoad="Yes"/>
            <TriggerableAnimation Input="TextMenu" Action="Open,Close" StartKF="0" EndKF="100" Duration="4">
                <Sound FileName="HangarDoor.wav" Loop="Yes" MinDistance="20" MaxDistance="800"/>
            </TriggerableAnimation>
        </Model>
    </SimObject>

</SODE>
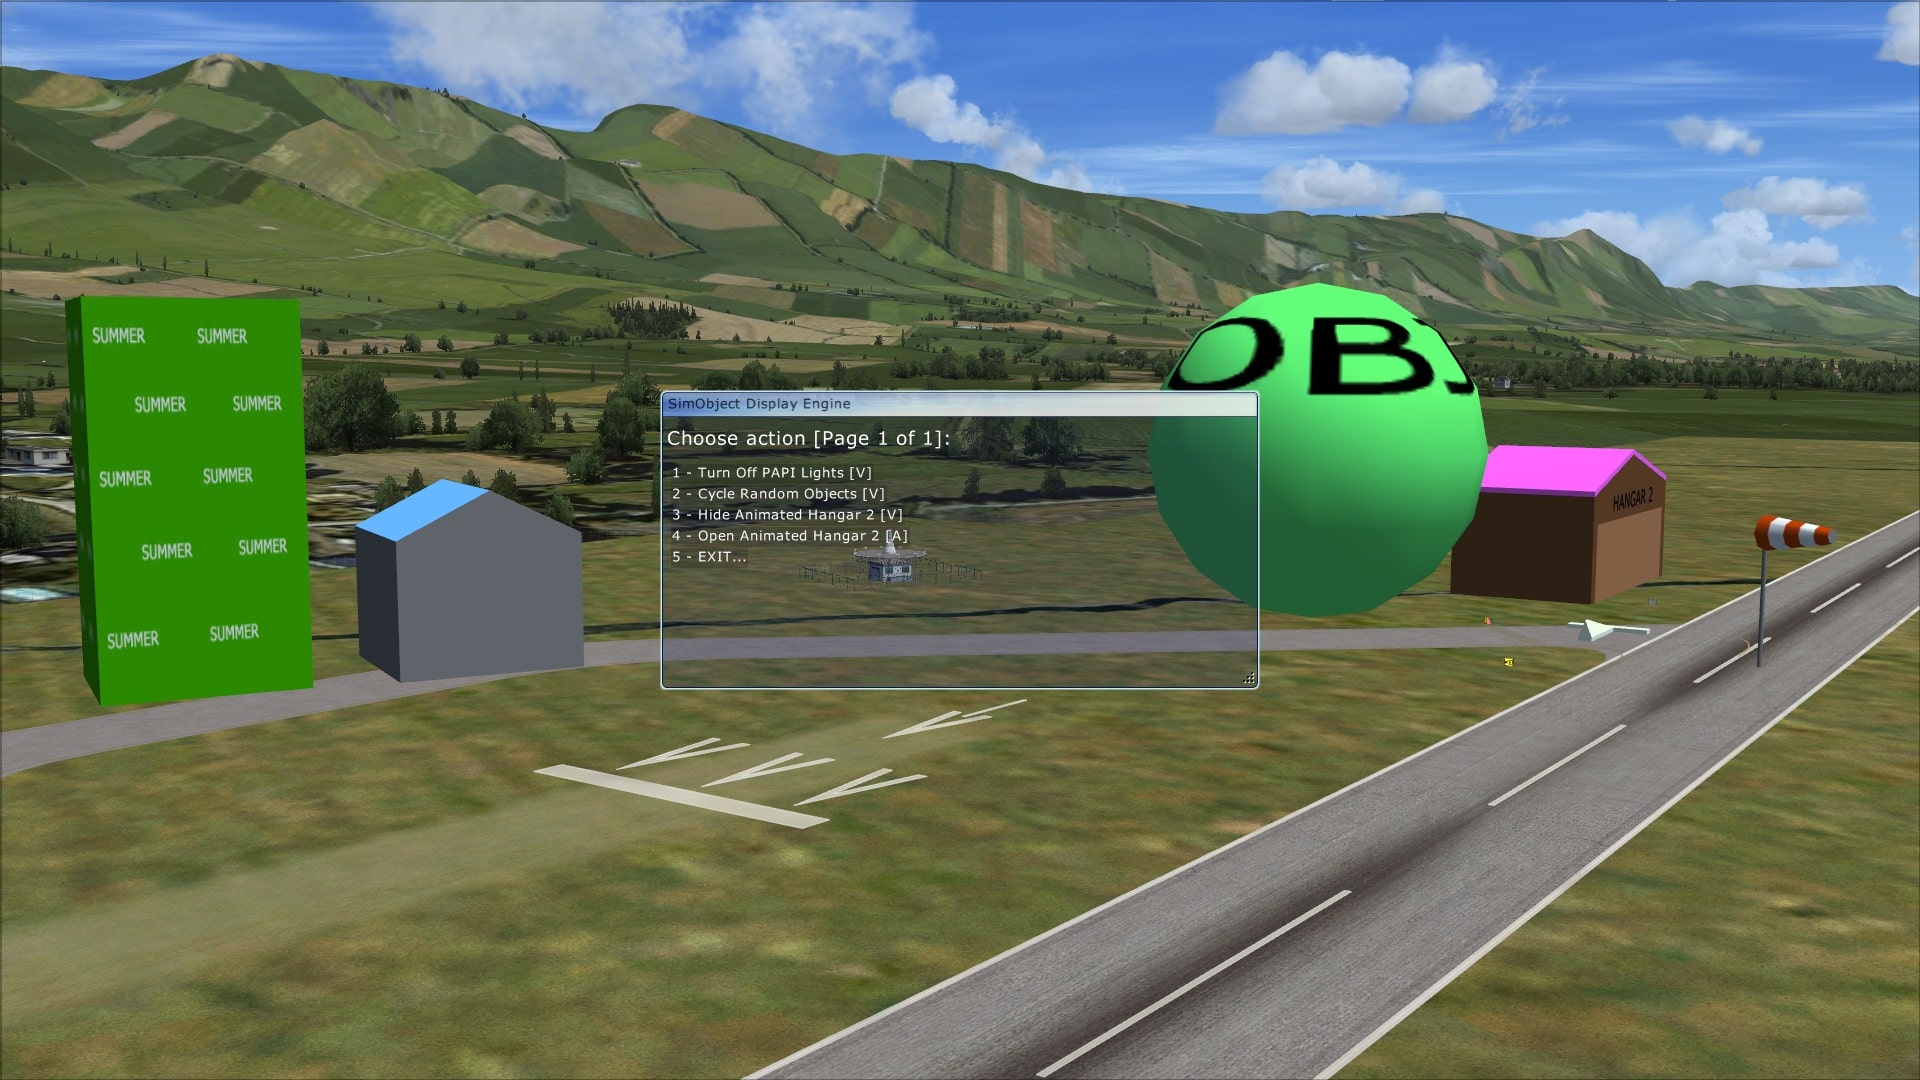
The SODE XML configuration file for 6666 Ranch is now complete, so you can save it and exit your text editor. Provided you have SODE installed correctly, it will run automatically when you start your sim and you should see something like the following.
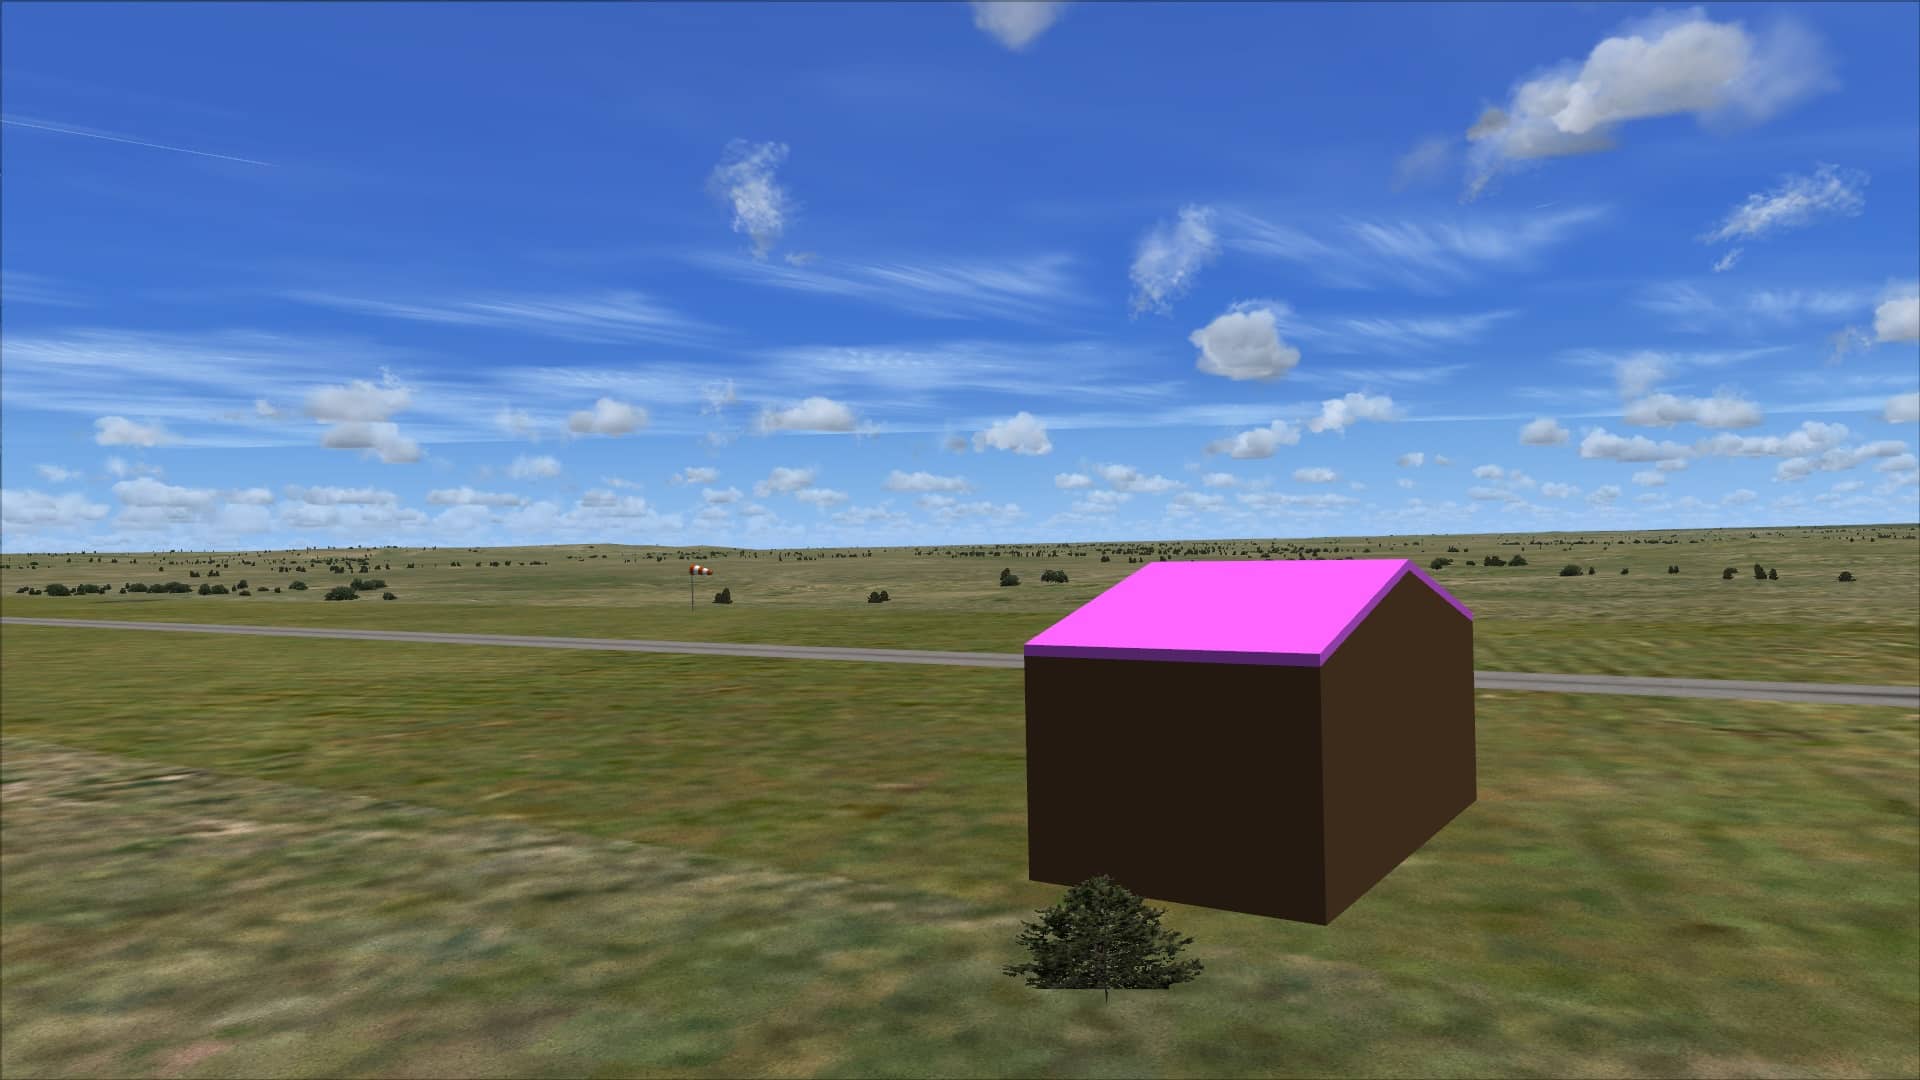
The windsock will simply react to the wind direction and requires no action on your part as a user. If you press “Tab-S” together, then the SODE action menu will open and you will see that you can both make the hangar invisible or visible and open/close the door. Yes, the objects are very simple, but that’s how easy they are to add to a scenery.
Anyone who can create a scenery object for FSX can create a Simobject – it is simply the MDL file compiled by XtoMDL from your modelling tool and a couple of simple text files, in a couple of folders. Apart from problems caused by erroneous xml entries (such as missing them off the client list!) then it’s very simple to get objects into FSX using SODE and the demo xml files given provide plenty of examples of how to do it. If you get stuck, then the developer’s sub section of the FSDeveloper forums is really useful for advice.
Having spent a bit of time with SODE now, I can definitely recommend it to anyone involved in FSX or P3D scenery design, so why not give it a go yourself?


0 Responses
I am a simple consumer, I will need to wait for this to be turned into an add-on with a straightforward UI.
As a consumer, you’d have to do no coding or anything at all, other than selecting options, if a scenery designer has set up that option to control things. With my Watton, for instance, literally the only thing you’d have to do is install SODE and install the add-on. All the animations are automatic, set dependant on the weather.
I didn’t read the original post clearly. Can I purchase the add-on?
No. You don’t need to – it’s donationware. Free to download and use, but if you want to support development, send a donation to the developer.